Let’s talk about silhouetting, which is one of my favorite cell phone photography techniques.
You’ve probably seen some really great silhouette photos where the subjects are hidden in black, making the whole photo mysterious and highly contrasted.
And while silhouette photos look great, they’re also very easy to capture with the iPhone.
How To Take Silhouette Photos
Let’s say you’re indoors and the majority of light enters the room through a window. If you take a photo of someone standing in front of the window, that person will turn into a silhouette because you’re shooting against the source of light.
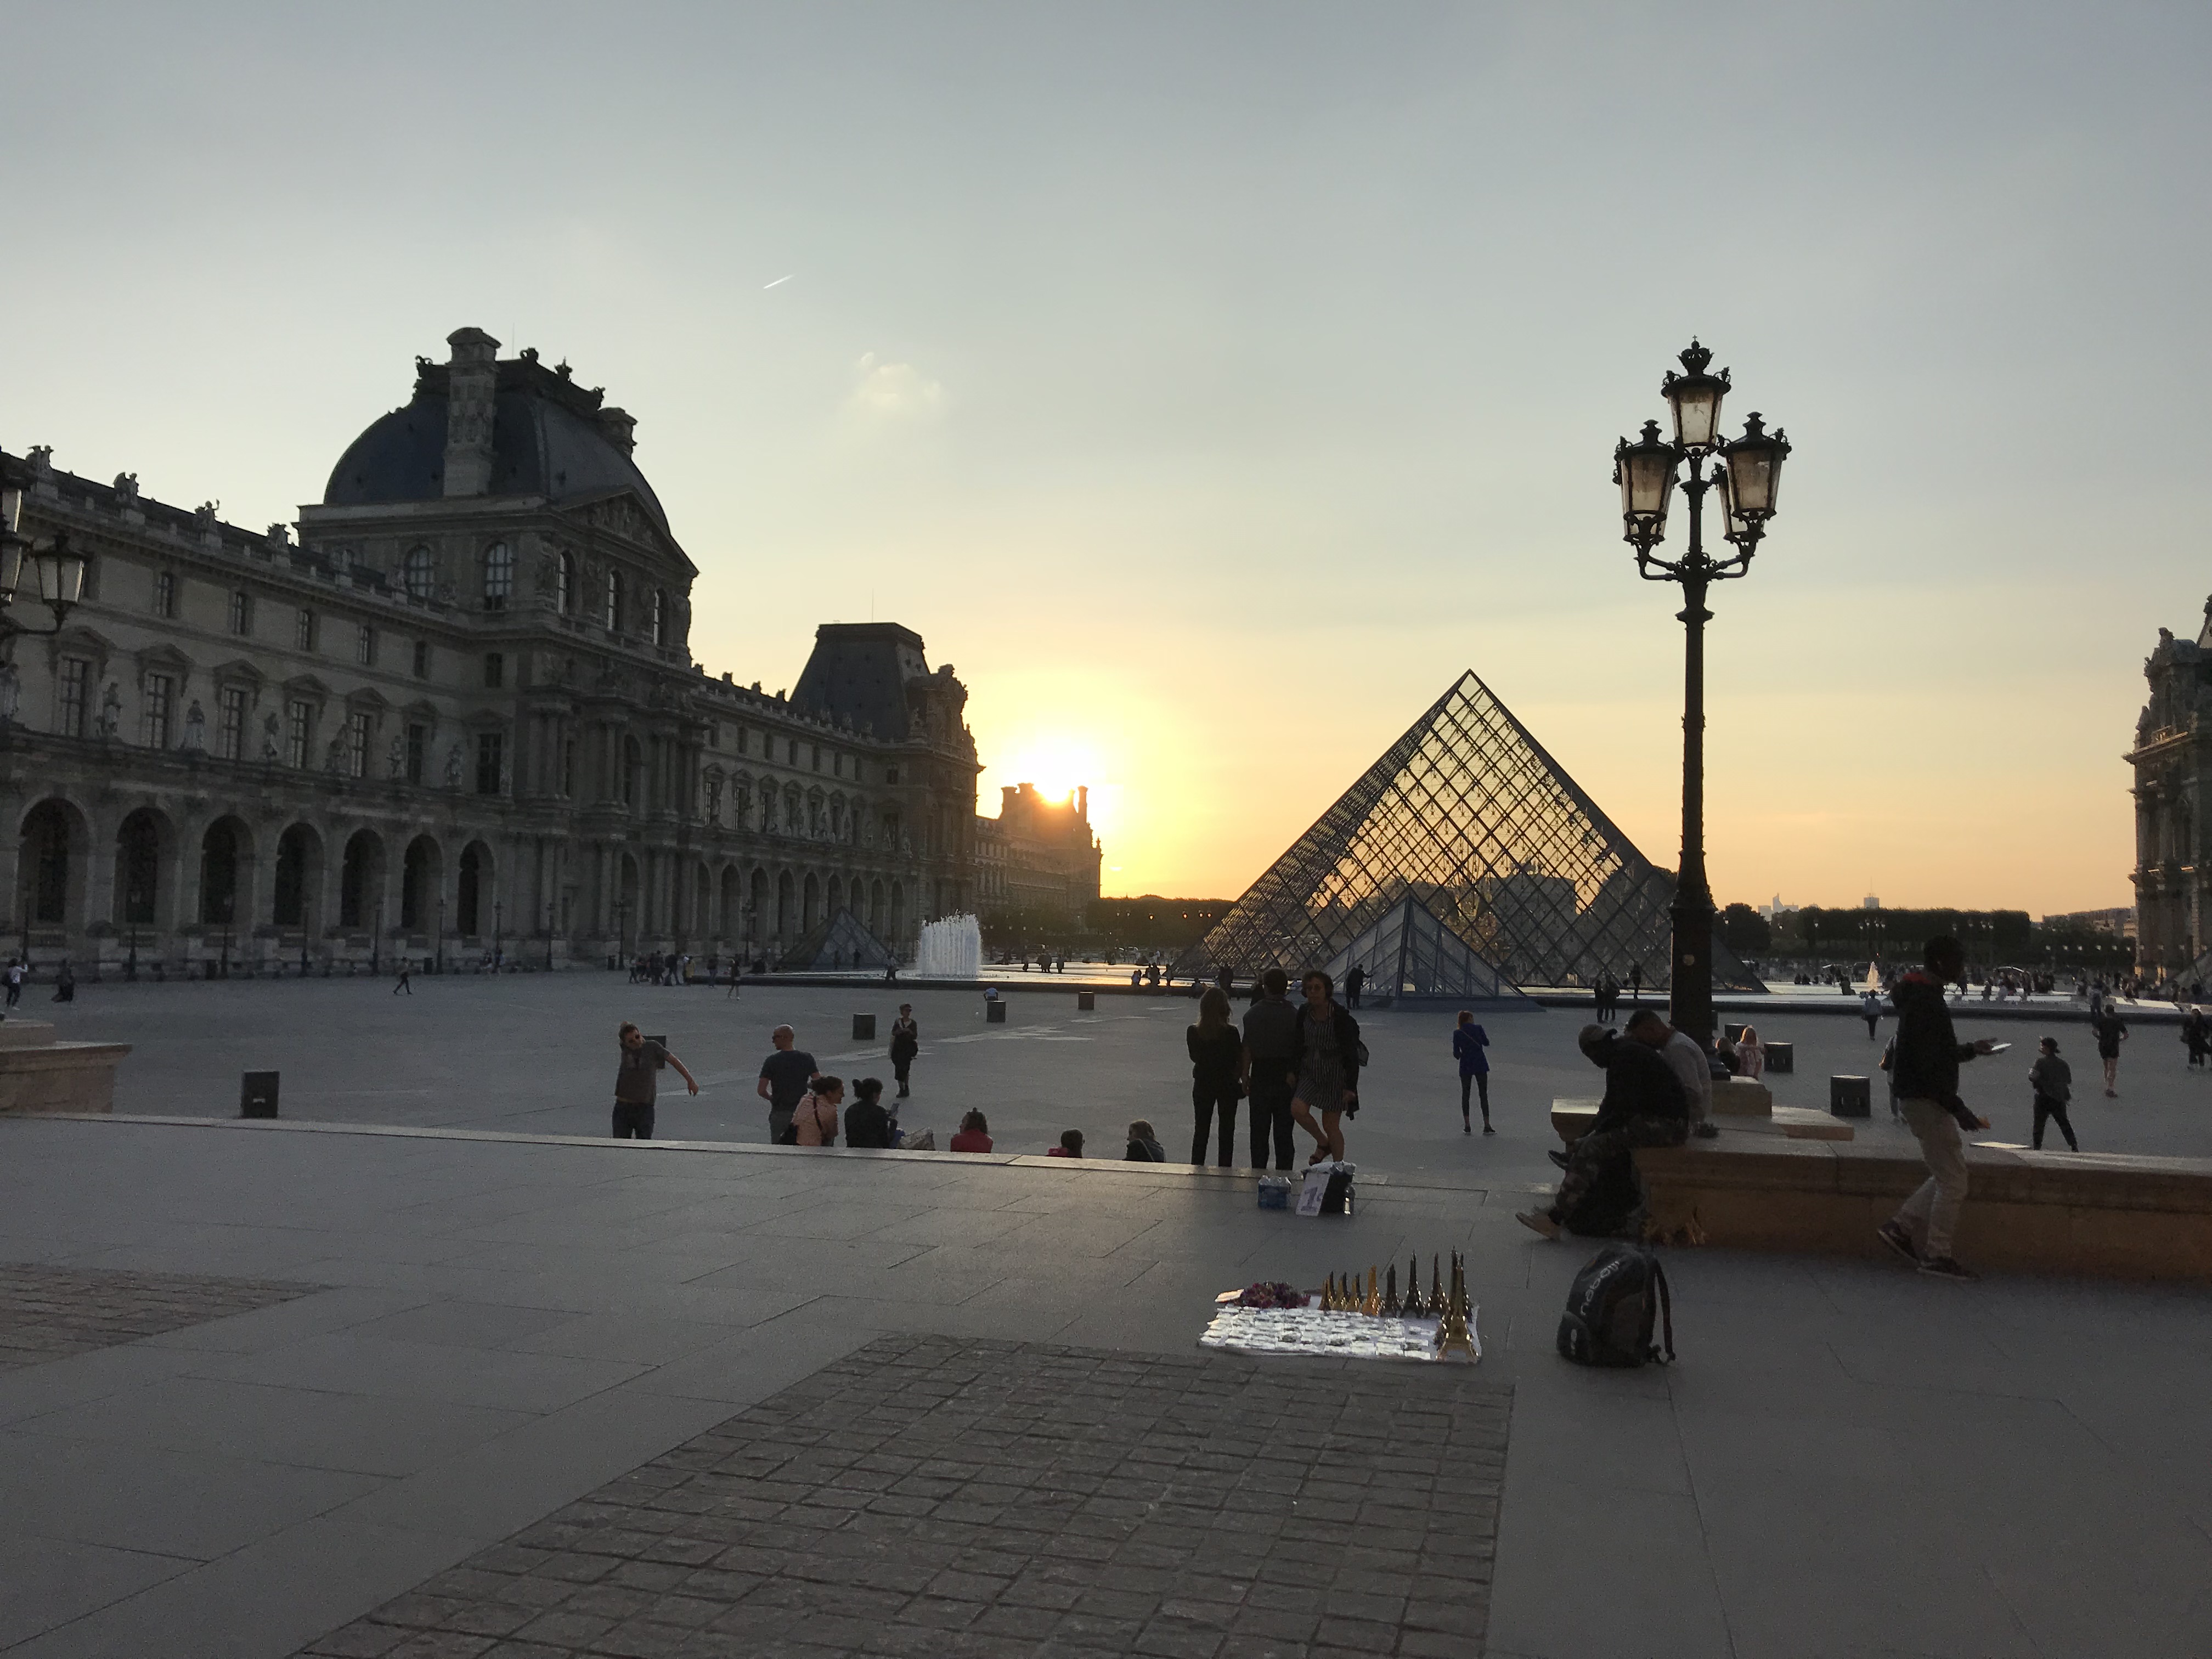
The same thing happens during sunset or sunrise when you shoot against the sun, or during the day if you point your iPhone towards the sky.
The best time of the day for taking silhouettes is near sunset (or sunrise) because you can take great silhouettes in the foreground with breathtaking sunset sky in the background.
With that said, you don’t have to wait for the sunset or sunrise…
You can take great silhouette photos whenever the source of light is behind your subject.
How To Find Great Subjects
If you want to take silhouettes, you also need to find good subjects. For silhouettes you should only pay attention to the outline of your subjects since everything else will be hidden in black.
Some of the best silhouette subjects are people. They always leave you wondering what the person might look like since you can only see their outline.
Of course, any subjects can be used for silhouettes as long as they have an interesting outline.
If you have multiple silhouettes in your photo, you don’t want them to overlap.
Since you can only see the outline of your subjects, overlapping silhouettes quickly get confusing and they generally don’t look very good, so it’s best to avoid overlapping subjects.
Manual Exposure Control
The iPhone camera creates silhouettes automatically if your subjects take up a small part of the photo and you’re shooting against the source of light. If your subjects take up a large part of the photo, they will be exposed normally and you’ll get bright, overexposed background instead.
In that case you’ll have to set exposure yourself. Start by tapping the screen to set focus, and then use the exposure slider to manually make the image darker until a silhouette is created.
With the exposure adjusted for the highlights, your subjects will turn into silhouettes.
So the next time you’re taking photos, try to shooting against the source of light.
As long as your subjects are interesting, you’ll get spectacular results.
It’s so much easier than you think!