Halloween Photography Tips
With Halloween just around the corner I thought it was time to update our Halloween Photography Tips article with some new information and photos.
There are plenty of subjects around to photograph at Halloween ranging from the traditional jack-o-lantern through to people in costume, to trick or treat ‘treats’ and more. It’s a time of color, emotion and lots of interesting subjects.
The keys to great Halloween Photography are not that different from the normal keys of good composition in photography so as you photograph Halloween this year keep in mind the basics. I’ve selected the following tutorials that we’ve written before that should be helpful in your Halloween photography:
Find Points of Interest
Before hitting the shutter ask yourself ‘what is the focal point (or point of interest) in this image?’ All good images have something in them that holds the attention of those who view them – learn more about focal points and how to enhance them here.
Rule of Thirds
One way of enhancing the composition of your shots is to place your points of interest inn smart positions. While the rule of thirds can be broken with great effect it’s a useful principle to keep in mind.
Fill Your Frame
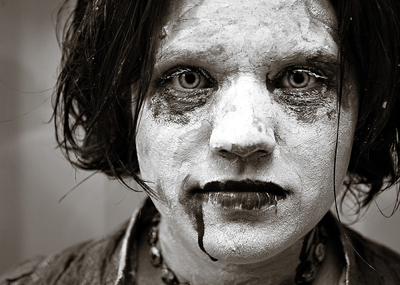
Halloween is a time of drama and you can add to this in your images by getting in nice and close and filling the frame with your subjects. Whether it’s people or objects – getting in nice and tight will usually add punch to your shots.
Give Subjects Space to Look into
When photographing people one of the most effective compositional techniques is to use the space around their faces effectively by giving more room on the side of their face that they’re looking into.
Find Fresh Angles
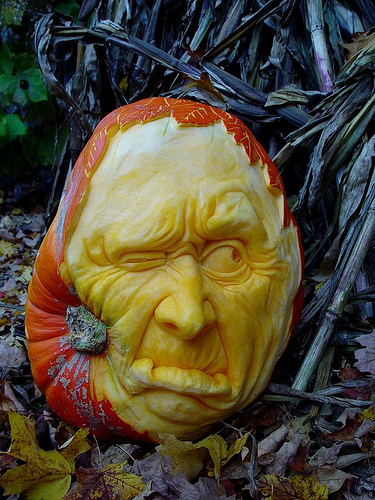
I suspect that the day after Halloween that photo sharing websites will be filled with images of pumpkins that all look much the same. Make your images stand out by finding fresh perspectives to shoot from.
Photograph the Details
It’s easy to be distracted by the flashy parts of a time like Halloween but it’s often when you step back, take a look around and notice the smaller details that you find the ‘money shots’. Times like Halloween are filled with all kinds of smaller details and photo worthy moments including decorations, carving the pumpkin, people getting dressed in costumes, sleeping kids at the end of parties, bags full of treats at the end of the night, the ‘fangs’ in Aunt Marie’s mouth, before and after shots of parties, close ups of food etc
Group Photos
Halloween is a time that people gather together and it’s an ideal time to practice your group photo techniques.
Candid Photography
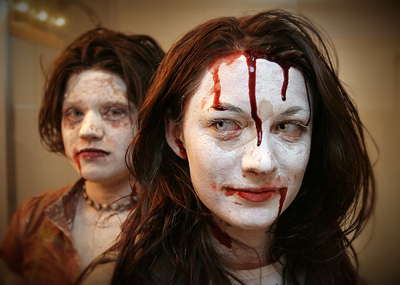
Halloween parties are a great time to get your camera out for some candid photos of your friends and family having a great time dressed up in all manner of costumes.
Shooting in Low Light
The type of images that come to mind when I think of Halloween are fairly dark and spooky ones – candles in pumpkins etc. After all, the real action of Halloween seems to happen after dark. As a result you’ll want to think carefully about the light sources for your shots.
- increase your ISO – the larger your number the more sensitive your image sensor is to light and the darker conditions you can shoot in without having to slow down shutter speed. On the downside you’ll get more grainy/noisy shots.
- slow down shutter speed – choosing a longer shutter speed lets more light into your camera. On the downside you’ll see any movement in your shots blur (which might add to the spookiness of the image but could also ruin it). Consider using a tripod if you lengthen your shutter speed.
- use a larger Aperture – this widens the hole in your lens and lets more available light in. It will also lessen the depth of field in your shots. If you have a DSLR with a few different lenses is to use the ‘fastest’ lens you own as it will let you choose larger apertures. For example my f1.4 lens handles low light much better than my f4 lens.
Diffuse Your Flash
Another strategy that I’ve heard of some readers doing at this time of year is diffusing the flash on your camera with colored cellophane to try to lesson its impact upon your shot and also to give the light it produces a glow that might add to your shots – Red might be a good color to try. You’ll probably want to test this before the big night as getting the right density of diffuser will be critical.
Jack-o-Lanterns
Photographing Jack-o-Lanterns is particularly tricky as to get the full effect of the glowing inside the pumpkin is a bit of a tightrope walk between overexposing and underexposing due to the light and dark patches in the shot you take. Instead of just one candle inside it is probably worth using two or three to give a little extra light. Also take a number of shots at different exposures (exposure bracketing) and you should get one or two that give you the impact you’re after.


