Taking a Quick Portrait Outside
This blog is about Taking a Quick Portrait Outside.
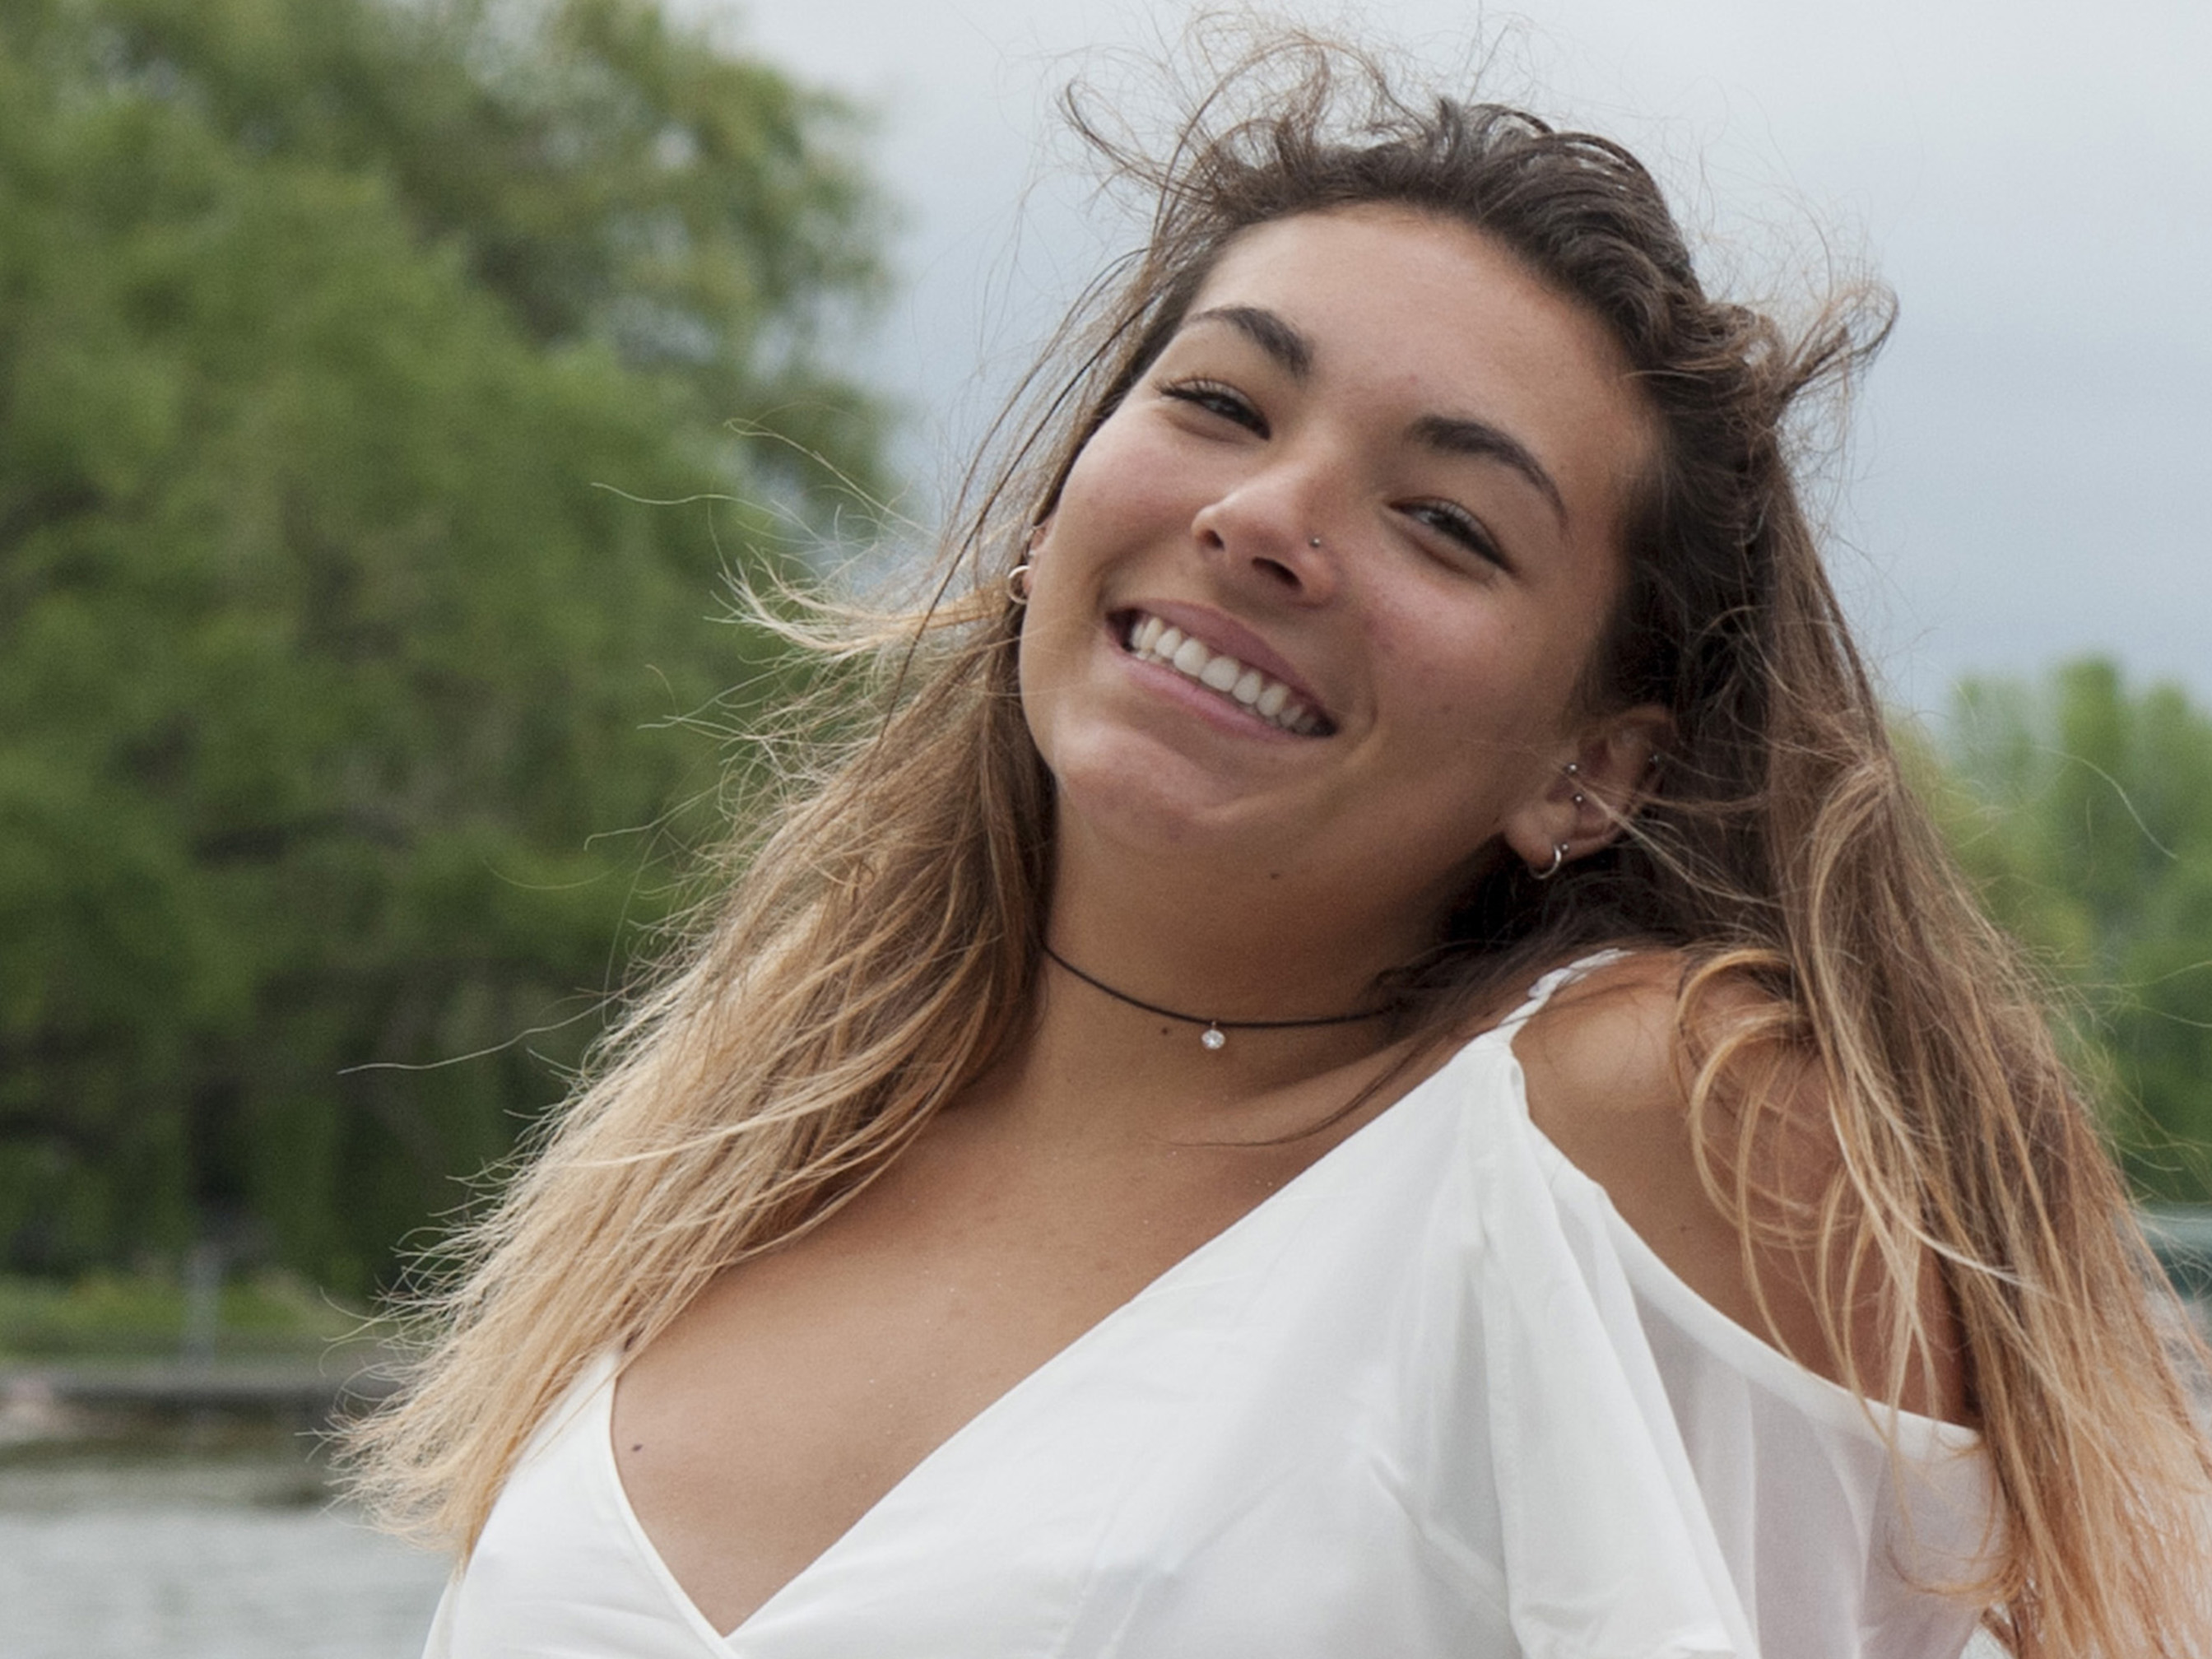
Our first method for Taking a Quick Portrait Outside is Composition and Posing.
Composition and Posing
Asking someone to stand in front of the camera can make them feel uncomfortable, so try to bring elements of the background into play. If your subject has something to hold on to or lean against, you will find that their poses look a lot more relaxed and natural.
Don’t be afraid to direct them, either, telling them how you want them to pose, what you want them to do with their hands, how to angle their head, and in what direction you want their eyes to be looking. You’ll give them confidence, and you’ll get the shots you want.


Our second method for Taking a Quick Portrait Outside is Natural Lighting.
Natural Lighting
Because you may not have professional photography lighting and reflectors you can use the sun’s natural light to illuminate your subject, or use reflections from other sources such as nearby buildings.
Harsh light from the sun when it is high in the sky is best avoided, as the deep shadows created across the subject’s face won’t be that flattering. Cloudy, flat days – while shunned by landscape photographers – are ideal conditions for natural light portraits as the clouds act as a huge diffuser, rendering pleasing soft light on your subject.
If you’re stuck with bright conditions on the day of the shoot, try to move into the shade, such as under a tree. Alternatively, look to shoot in the shadow of a building to avoid the full-on intensity of the sun.
Sometimes, none of this will be possible, so you might want to use your own diffuser to soften the light, with dedicated options available, or improvised options such as light-translucent sheets to do the job.
With the sun lower in the sky later in the day, think about shooting into the light for a striking contre-jour effect, with a reflector to help balance the exposure.
Great light seems to find itself (anytime of day) in doorways, or under the shade of a tall building, especially under an awning. no matter what time of day, to have that golden hour feel.
Our third method for Taking a Quick Portrait Outside is Background.
Background
What you have in the background of the frame is very important, even if it’s blurred. The name for it is bokeh.
Sometimes this very feature makes the photograph stand out. You need to use a shallow depth of field and a wide aperture for this effect.
You can make the subject pop by placing them further away from the background. Combine this with along lens and a wide aperture – and you’ll get a blurry, creamy background that won’t steal the attention from your subject.
You may want to choose a dark background. Our eyes tend to go to the brightest part of the image. So, if your background is brighter than the subject’s face, the viewer will get focused on it first. This is why you should look for dark backgrounds and those that are in the shade. This way, the bright subject will stand out on the dark background and your viewer’s eye will be drawn to the model’s face first.
This site may also give you some ideas; Outdoor photography